LINDA TRACE DESIGNS

crafty adventures of a makeup loving Japanophile!

.

.

Wednesday, 4 April 2012

A Blog Named H ero Challenge #1!

Hey everyone!

Just a quick post today to remind you that the FIRST challenge over at A Blog Named Hero is up and running!

The theme is the same as the Celebration Week, which was


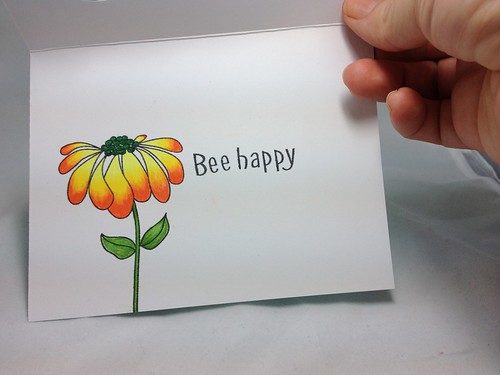
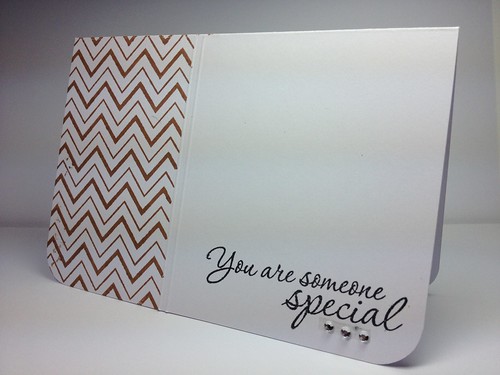
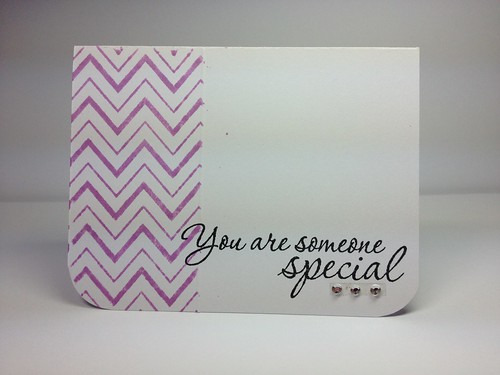
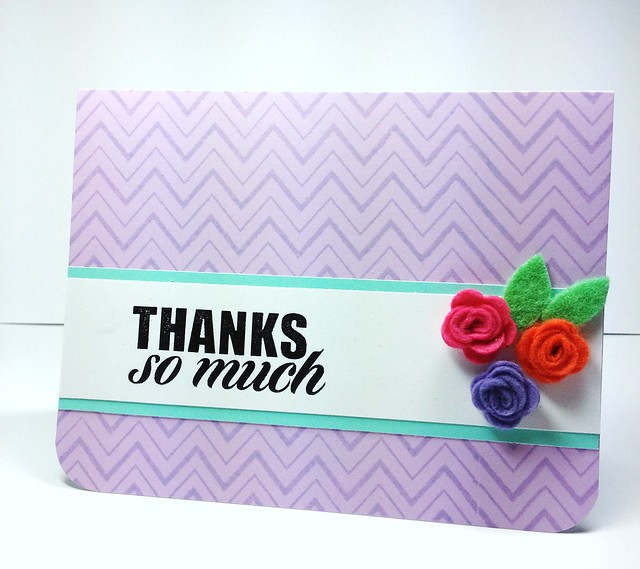
Here is the card I made, using (just one of my many) favourite stamps from the amazing Hero Arts

Thanks so Much_zig zag


You have until 5pm April 10th, U.S Eastern Standard Time (Which is 7am Australian EST April 11th :)) to enter!!

You are in with a chance to win a $25 Gift Certificate from our wonderful sponsors


Hurrah!!

Hope you'll join it :) Feel free to enter as many times as you like--we understand that picking just ONE favourite is almost impossible!


*hugs and smooches*

Linda xx


Here are the tools and products I used:


.

Friday, 24 February 2012

Bee happy!

Hi!

Today I'm here to show you a card I made for the Hero Arts challenge this month.

I followed the sketch they gave as well as the theme of friendship :)

Bee happy chevron

Nice an easy and CUTE!

Here's a look at the inside:

Bee happy chevron_inside

First I took a piece of Pool Layering paper, cut it to size and scored it in half. Then I used the Hero Arts Zig Zag cling background stamp and heat embossed it with clear embossing powder to give a gorgeous tone on tone effect. Next I diecut the front panel using a Tim Holtz mini Ornamental die.
I stamped the large flower image from the Be Happy clear stamp set on the inside of the notecard, being careful to position it so that it would peek through the window in the front panel.
I also stamped the two little bees onto some scrap white cardstock.
I coloured in both the bees and the flower with Prismacolour pencils. Lastly I stamped the sentiment on the inside of the card and attached the bees to the front panel!

These little bees are one of my favourites of all time. They're so sweet looking :)

That's it!

Here are the tools and products I used to make the card:


I hope you like it!

I'll be back soon with more :)

Thanks so much for stopping by--take care!

*hugs*

Linda xx

Friday, 20 January 2012

CAS card Class

Greetings and salutations!!
I'm back again today with some CAS cards I made after watching and being SO inspired by Julie Ebersole's card on Day 2 with her Perfectly Flat Cards tutorial in the Clean And Simple Card Class.

These cards aren't quite perfectly flat (there are a few gemstones in one corner) but they come close :) and I love em anyway.

I made a set of them, but only photographed them separately, so here they are :)

Chevron CAS_Heartfelt Thanks

Chevron CAS_Thank you

Chevron CAS_Fantastic Day

Chevron CAS_You are perfect

Chevron CAS_someone special

Chevron CAS_purple


SUPER simple to make (yay!). Here's how I did them:

  • Cut white cardstock to 6x4 and score down the centre (but don't fold yet) 
  • Using masking tape/paper or post--it notes, mask off about 2/3 of the front of the card and all of the back of the card (be sure to keep your post-it OVER the scoreline or that will get ink on it)
  • Take your chosen ink colour, ink up the Hero Arts Zig Zag cling stamp and press onto the cardstock that is still visible.

  • Remove your masks and the ink will only be on one portion of the card.
  • Using a scoreboard, score a little line right down the edge of the stamped area. This helps to really 'finish' off the image as it doesn't really have a border otherwise.
  • Round the edges of your card with a corner chomper
  • Stamp the sentiment on the bottom right hand corner of the card, in Memento Tuxedo Black ink.
  • Add 2-3 gemstones as suits the sentiment.
  • Fold the card :)

That's it!!

So fun to make, NO stress, and you've got a perfect little gift for someone!! I'm going to box mine up and send them to my best friend. Everyone needs notecards and using various sentiments on each card, gives them a range of occasions to be suitable for.
Tools and products I used are linked below as always!

I'll have more for you VERY soon :)

Thanks so much for stopping by!!

*hugs*

Linda xxx