LINDA TRACE DESIGNS

crafty adventures of a makeup loving Japanophile!

.

.

Monday 6 November 2017

Challenge Me Christmas Card with Michelle!

Hi friends!

I'm here with a fun little post today, I'm teaming up with the gorgeous Michelle Lupton, one of my favourite crafters, for a special Challenge Me A Christmas Card event!


We were challenged to use the theme FINLAND today and so that's what we've done!

I considered working with the concept of the Finnish flag but none of my ideas panned out, so I decided to go for a typical Finnish Christmas. Snowy Snowy Snowy.

Here's my card


I used copics to colour the Lawn Fawn houses, and Distress inks for the trees (which are an old woodblock stamp from Hero Arts), and for the sky, I purposely swiped strongly, using Distress Oxide inks--I wanted the sky to have a swipey effect like the sky might have from clouds or snow swirling around.  Lastly I added LOOOTS and LOTS of stickles :)

To check out Michelle's, hop over to her blog post HERE.

See you again soon!

Linda

Thursday 21 September 2017

With love from all of us

Hi there lovelies!

I'm here today to share a card I made using the delightful Lawn Fawn Winter Village stamp set.


To make the card, I first watercolored my background using Holbein Watercolour paint, then set that aside to dry.  Once dry, I took my Hero Arts white spray mist, and flicked drops all over the paint, to give the effect of snowfall.


I used the same paints to watercolour my images, and I fussy cut them all out leaving a small border. I diecut two snowy slopes using the Stitched Hillside Borders, with some Simon Says Stamp linen cardstock.

I adhered everything together onto a 5.25 square cardbase, and added accents to the windows, snow, and sky with Stickles, Glossy Accents and Wink of Stella Glitter Pen.  I finished the card with a heat embossed sentiment from the same set.

This set was pure joy to work with. I can't wait to make more cards with it!

Hope you enjoy :)

See you again soon!

Linda xo

Wednesday 13 September 2017

A Picture is Worth a Thousand Words

Hi there crafty peeps

I'm here today to share a cad with you that I made recently, using some old but oh-so-cute Lawn Fawn stamp sets. I'll be adding it to the current Lawnfawnatics challenge too :)


This card is 100% Lawn Fawn and boy does it make me happy :) I love those critters. Thought it would be cute to have a photo of them all together--maybe they'd gone camping?! What do you think?


To make the photo frame a little more distressed looking, after I'd copic coloured it, I added White Wink of Stella pen, to give it that whitewashed effect. Then I added stickles coz I can't help m'self.

Hope you like it!

Lxoxo

Thursday 7 September 2017

Hello There Little One


Hi there crafty peeps!!

I've been crafting a lot lately, but not had the old blogging-bug much. Its hard when it feels like I'm talking to no-one! I never know what to type lol.

Anyhoo, I made a card using the delightful new set from Neat and Tangled, Party On!

I used it on the card I made for the Neat and Tangled Design Team reunion, which you can see HERE, and I canNOT stop using it.

For my card today, I bent the giraffes neck a little, while t was on my acrylic block, and positioned it so it looked like it was peering down at the little bird.  I thought it would be a fun way to make a welcome-baby style of card.

The images are coloured with copics. The background was done with Holbein watercolours, the sentiment is a combo of Simon Says Stamp, and Concord & 9th.  That lovely little background is heat embossed with clear powder, and is from an older Avery Elle set.


I hope you like it! I'll be back with more soon

Linda xo

Wednesday 9 August 2017

Thankyou for helping me Grow

Hi there crafty friends,

This has to be pretty short because I've got a cutey patootie almost-4-year-old staring at me waiting to go craft with her.

I'm with the A Blog Named Hero FB team, and I'm here to share my card for this month!

This month's theme is embossing.


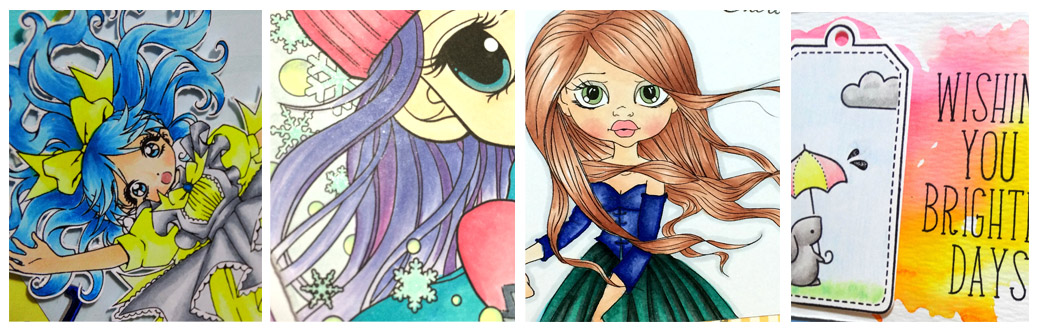
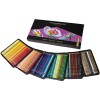
I'm one of those people who uses a crafty item (in this case my Zig Clean Colour Markers), for the first time in ages, and then kind've internally yells the entire time, to myself, "Why haven't I used these for so long?!".  Then I don't use them again for ages lol.

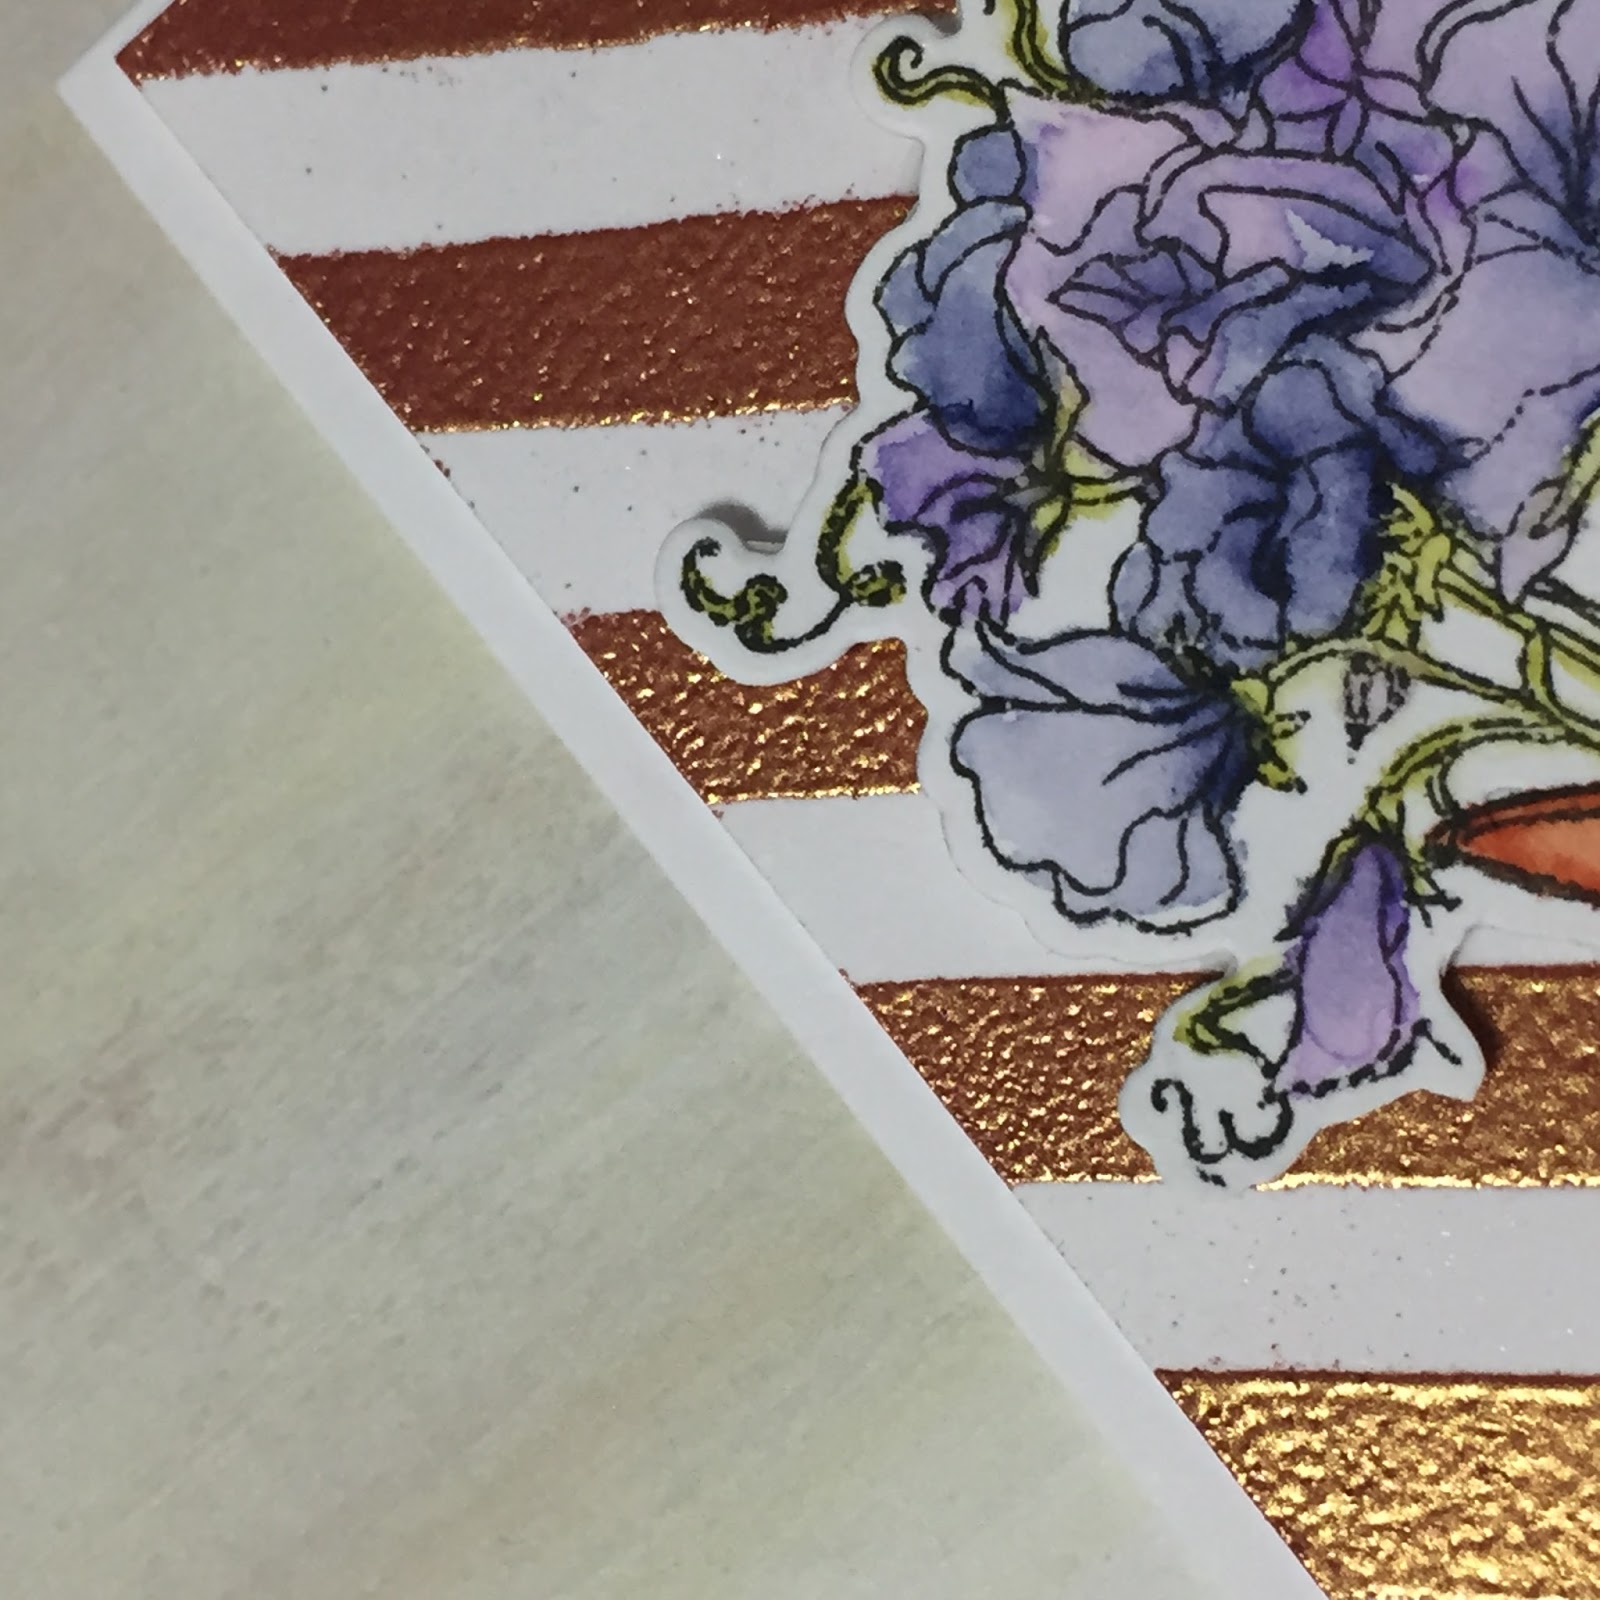
So I stamped the jug onto some cardstock, then the gorgeous flowers (I masked off the base of the stems so they'd go inside the jug).  I wanted the jug to look like an old copper piece, so I only added TINY bits of colour, right to the outside edge of it, then dragged the colour inwards using a fine water brush. Adding tiny dots in the corners, and dragging those inwards too, to achieve the level of rustiness I was after.

Next I went after the flowers. Now I have a rule about flowers (it's not a hard and fast rule, but it's one I keep in mind when colouring them). I try to never make all the flowers exactly the same. Because they're not, in nature. So for some I added more of the darker purple shade, for others I added almost only blue (only a TINY speck of the purple right at the end). I tried to ensure there was some shading as well.

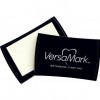
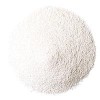
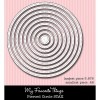
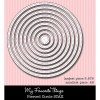
For the back panel, I used a MFT stencil my lovely friend Lisa sent me, swiped some versa mark over it, and then used Simon Says Stamp Rose Gold embossing powder.

I had lots of fun creating this, and as an added bonus, it was all new product I got to play with! Always fun to receive crafty goodies in the mail.

OK so head over to the FB page or the main blog and check out all the other DT's amazing projects.

See you again soon!


Saturday 3 June 2017

CONGRATS! Wedding Card with Lawn Fawn!


Hey crafty peeps!

I'm here sharing a card with you today, that I made about 2 years ago, and totally forgot to blog!

I made it for my sweet cousin who was getting married,


I used a Hero Arts notecard, and Lawn Fawn's Happily Ever After set (sadly now retired!)

Keeping this post short and sweet--hope you like the card!

L

Friday 2 June 2017

An Oxide Ink card...

Hi crafty peeps!

I'm over at a2zScrapbookingBlog with a card I made using Distress Oxides and Hero Arts' Road Trip stamp set.

Check it out at the link above, but first of all, here's a peek of my card


I hope you'll pop over and check it out :) I'm excited to be joining their DT again, so I'll be over there with projects a lot!

See you again soon

Linda x

Saturday 25 March 2017

A Celebratory Blog Hop with A Blog Named Hero!!

Hi friends!

I'm here to participate in the 5th Anniversary Blog Hop for A Blog Named Hero!! So exciting.


First of all, I'll get to the info about the Hop!

A Blog Named Hero is so thankful for our wonderful sponsors and collaborating companies!  Several companies decided to help us celebrate our fifth anniversary with giveaways and they were so generous that we decided to spread the love over both hop days with different prizes to be won each day!  Giveaway prizes total more than $400!  To win, leave a comment on each hop stop.  We will select winners randomly from different blogs so the more blogs you visit each day, the greater your chances of winning!  And be sure to visit A Blog Named Hero on Sunday for the list of Sunday hoppers and prizes!  
Comments must be left before 11:59 PM EDT on Tuesday, March 28th and winners will be announced on March 30th. 
Today's prizes include the following: 
Good luck and happy hopping!!

You should have come here straight from A Blog Named Hero,  so onto my card!

this photo is JUST slightly crooked enough to be making me crazy. please tilt head accordingly

tilt more...nah just kidding

I decided to use one of my very first Hero Arts stamps for this card, she's a darling little thing and no matter how many crafty-purges I do, I always hold on to her just a little longer.

I started this card out by die-cutting my circle die out of kraft cardstock, then using my stamp-a-ma-jig, I stamped the Hero Arts girl.

I set to work colouring her in using my Prismacolor Pencils (anyone else as obsessed with these as I am!?) and I only used a tiny bit of blending solution over her face and hair.

Next I took my kraft cardbase and stamped the Hero Arts Lattice background cling stamp using Versamark, and heat embossed using white embossing powder (also Hero Arts).   I adhered the coloured circle panel on top using dimensional adhesive.

Lastly I ran my Simon Says Stamp Congratulations die through with some black cardstock, cut the die down so it only said 'Congrats', and adhered it using Glossy Accents.

That's it! Super fun to make and easy peasy!

I hope you enjoy it and the rest of the amazing projects the participants have made, I'm sure they'll be gorgeous as always.

A Big HAPPY BIRTHDAY to my darling A Blog Named Hero.

Next on the hop is the brilliant Hero Arts themselves!

Thank you for joining me!!

See you again soon.

Linda x


Supplies below:


<!-- inlinkz code end —>