LINDA TRACE DESIGNS

crafty adventures of a makeup loving Japanophile!

.

.

Saturday 25 May 2013

Welcome baby Nathaniel!

Hi there!

I'm here to share the card I made for ABNH DT sweetheart, Kelly, who recently had her baby!


I had some fun playing with my brand-spankin-new GELATOS! Wow, they're amazing!


I thought it would be fun to incorporate a couple of slightly older HA stamp sets, and played with colours.


Head over to ABNH where the other DT ladies have created lovely cards for Kelly!

Congratulations honey! Nathaniel is such a handsome little thing, we're so excited to welcome him to our ABNH family!

See you soon

Linda xx


Tuesday 21 May 2013

SOS Tool Shed!

Hiya!

I'm here with this weeks Shopping Our Stash challenge! I had to take a few weeks (months) off my SOS duties thanks to the little person I'm growin inside of me, stripping me of all my energy and almost all my crafty mojo! I'm so glad to be participating again!

This week's challenge is called TOOL SHED! Break out that tool that you've had lying around forever. (It can be never used or not-used-for-ages)

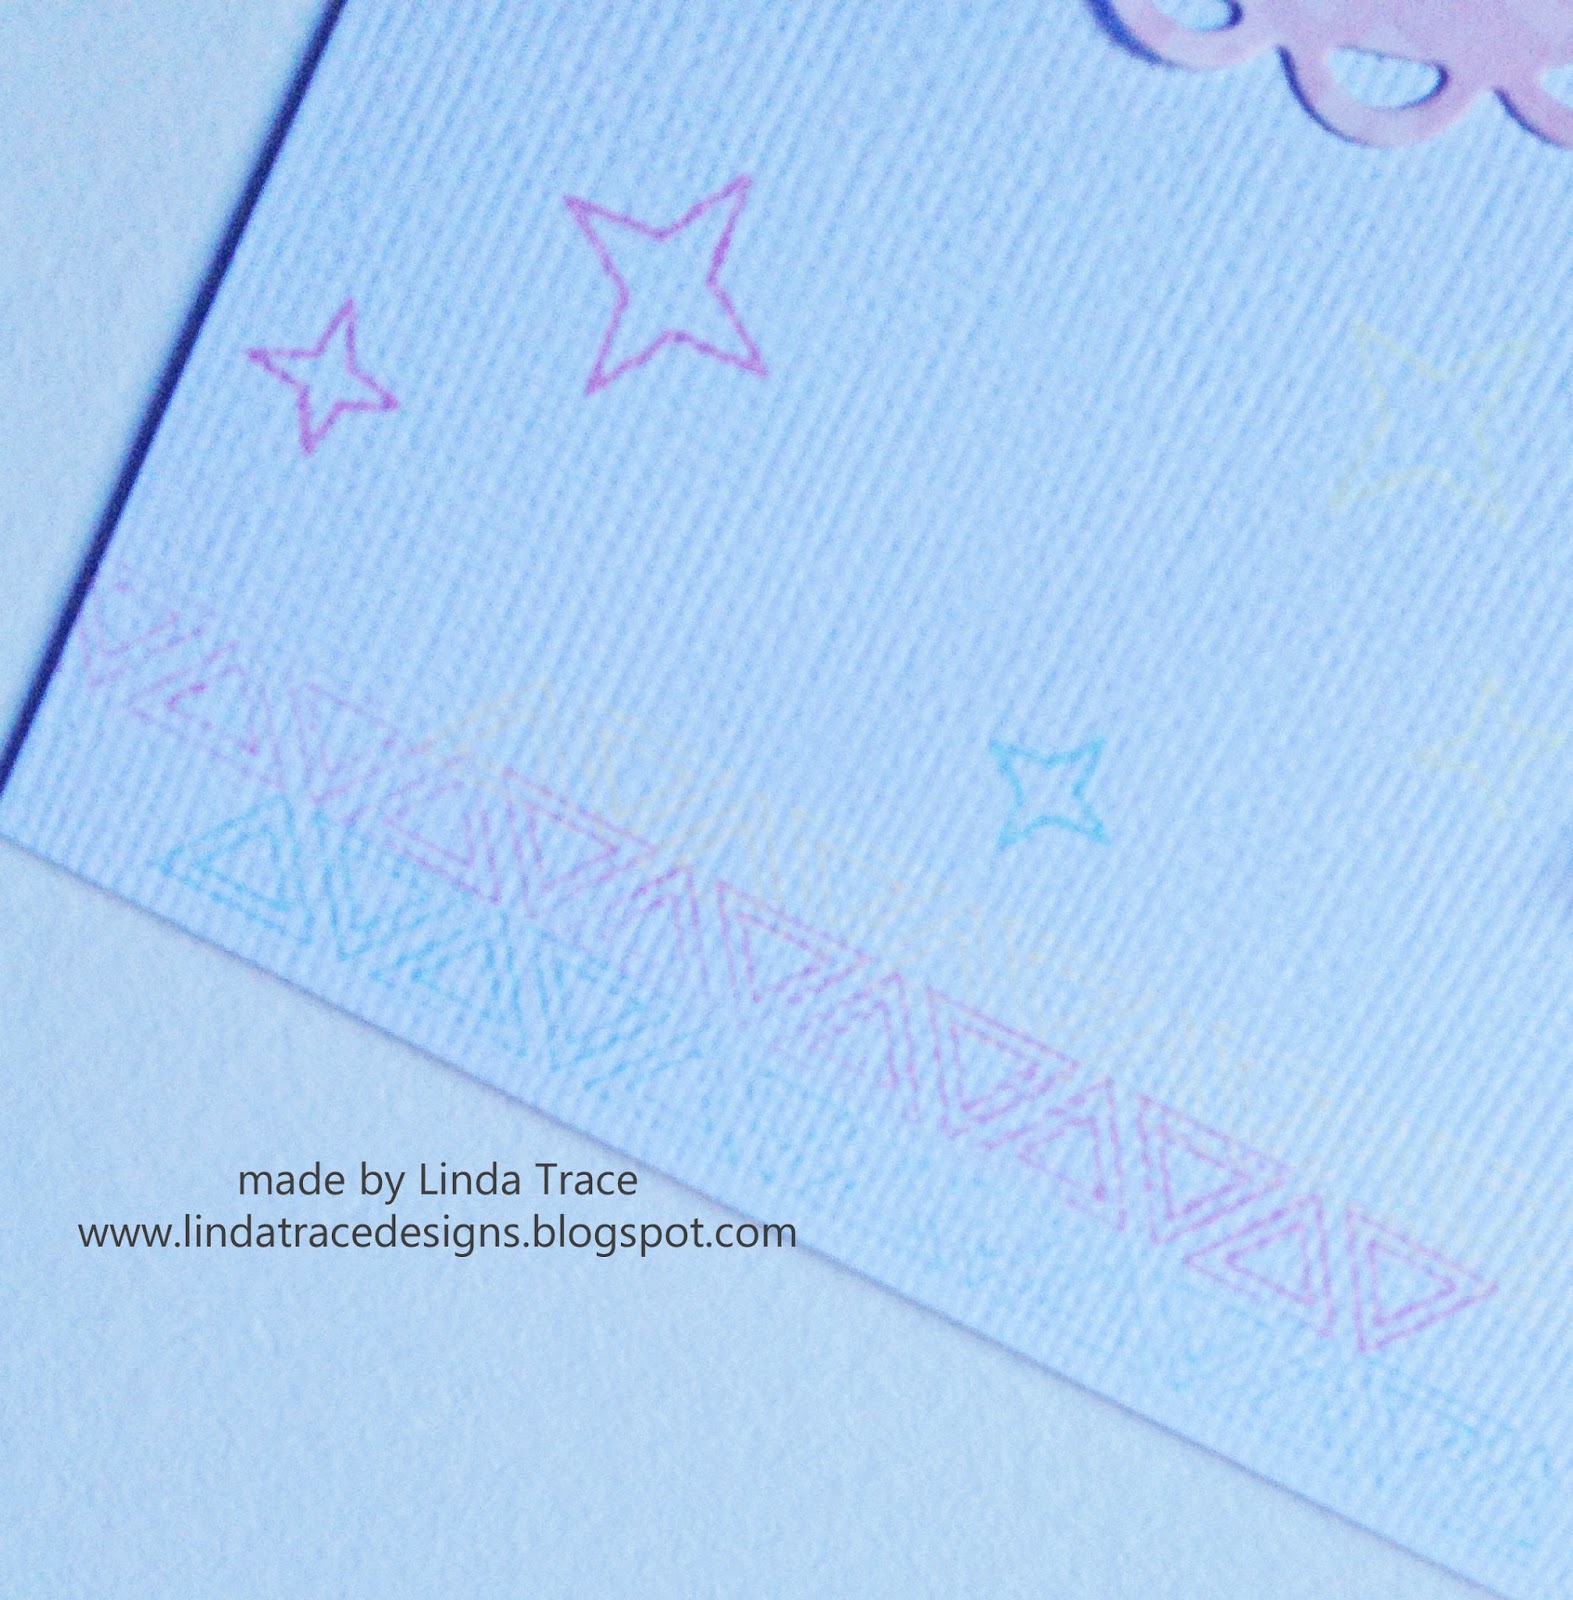
Now I have a few never before used things on here, one is the stamp (but that's not "REALLY" a tool), the largest circle die in the set has NEVER been touched (bingo!) and also I rarely use my Prismacolour.

In my defense, I went on a huge clean-out purge of my craft supplies and got rid of HEEEAPS of stuff I'd bought two or more years ago that just aren't my style. My goodness I'm more productive now and my layouts and cards are better for it. I'm just not so overwhelmed by all the choices. :)

Here tis:


I stamped my Sugar Nellie Poppy Fields image onto Neenah, then coloured her with Prismacolor pencils, then scored and folded the cardstock.  I carefully positioned a circle die on the top 'half' of the card, so that it would show the image through with only her boots being cut off a little (which is what I wanted, not her head :)) then diecut the circle.

Next I cut a piece of patterned paper from the Sweet Girl Echo Park 6x6 pad, slightly smaller than the card base, and diecut a circle one size bigger than the previous one (so I'd have that nice white "border" around the circle. Then I adhered that down in place and added my sentiment from Paper smooches.

For a few little added details, I made her rainboots glittery (stickles of course!)
I want sparkly yellow rainboots too...

And I did a bit of a Kathy Racoosin, and added some white gel pen detail to her dress (the 'zip' and collar...I ALMOST added a lacey hem, but I didnt....I might do that next time.)


Well, I hope you like!

Be sure to head over to the SOS blog, to see the rest of the DT's creations! they're super gorgeous!

If you'd like to join us in the challenge, we'd love to see what YOU pull out of the tool shed! Be sure to let us know which tool you're using specifically for this challenge :)

Thanks for looking!

Linda xx

May Arts and Hero Arts

Hi!

Today is the start of a week-long adventure over on ABNH, where we combine our favourite company Hero Arts, with the amazing GORGEOUS May Arts ribbons~love.


I decided to go with a layout... here is the finished product, before I go into a micro-tutorial about how I acheieved this look.


I had a little stash of ribbon to play with thanks to the wonderful Bethney at May Arts, and the Frayed Rosettes ribbon stood out at me. It had potential :)

This is what it looks like 'normal' laid out on my non-stick craft mat


and then, taking my Dylusions and Tattered Angels spray inks, I sprayed over the entire ribbon, careful to spray in 'stripes' across the ribbon, so only small sections would be coloured. 

yes this photo is upside down ...

I made sure to overlap the colours of spray just a little, so I'd get a nice even ombre effect, rather than sharp lines of contrast between colours.

I dried the ribbon CAREFULLY with my heat gun (and with several paper towels), and let it sit aside for a bit.

Then it was on to bringing the rest of the layout together!! Here are a few detail shots.


Embossed Hero Arts stamp :)

Some ink splatters and (true) sentiments)
I swear this photo didn't look so blue in photoshop...

Some more fun stamping. There is a line of yellow stamping above the pink but it's so subtle it didn't show up in the photo. It's definitely easier to see in real life.
stampety stamp

love that arrow stamp!


And here is the full layout again.


OK! that's it for me, be sure to head over to the ABNH blog, to see the rest of the DT's fabulous creations, today and for the rest of this week!

Thanks for stopping by!

Linda x


Sunday 19 May 2013

Foxy...

Hi friends!

First of all, I've finally deleted my old url (papertracer.blogspot), so please update your subscriptions etc to use this url :) Having the redirection was causing some tech problems behind the scenes, so it had to go. Thank you!


I'm here with a card that I originally made for the current ABNH challenge, but I wasn't happy that it fit the theme quite right so I kept it just for this blog :)


This came together super quickly!

First I stamped the fox on a scrap piece of cardstock, coloured him in with copics. Next I cut him out and put him to the side so he could have a cup of coffee while I finished the rest of the card. (or maybe he chased a sheep)

Next I ran a piece of neenah cardstock through my Big Shot and diecut the bottom section using the Parker Alphabet die my sweet darling friend (who wishes to remain nameless) sent me. I left the die all in one piece (didn't break apart each letter). I love how it looks all together like this!

Then I masked off the base of the cardstock (where the diecutting was) and stamped the top half with the Hero Arts Houndstooth stamp and my favourite Charcoal ink (talk about happy place!)

Then I took the required letters from the diecuts, and coloured them using the same copics as I'd used on Mr Fox.


I found Mr Fox lying on the grass licking his paws (goodness knows where he'd been) and adhered him, as well as all the other pieces together and then onto a Charcoal notecard (made out of layering paper) and added some stickles to the sentiment.

It sounds like a lot but realistically it was
diecut
stamp
colour,
colour some more
stick
add stickles :)

Thats it for me!

If you want to buy this delightful Mr Fox stamp or the Alpha die (which you really really NEED), click the pretty pics below :)


Thanks for stopping by!

Linda xx